mmDetection实战
课程
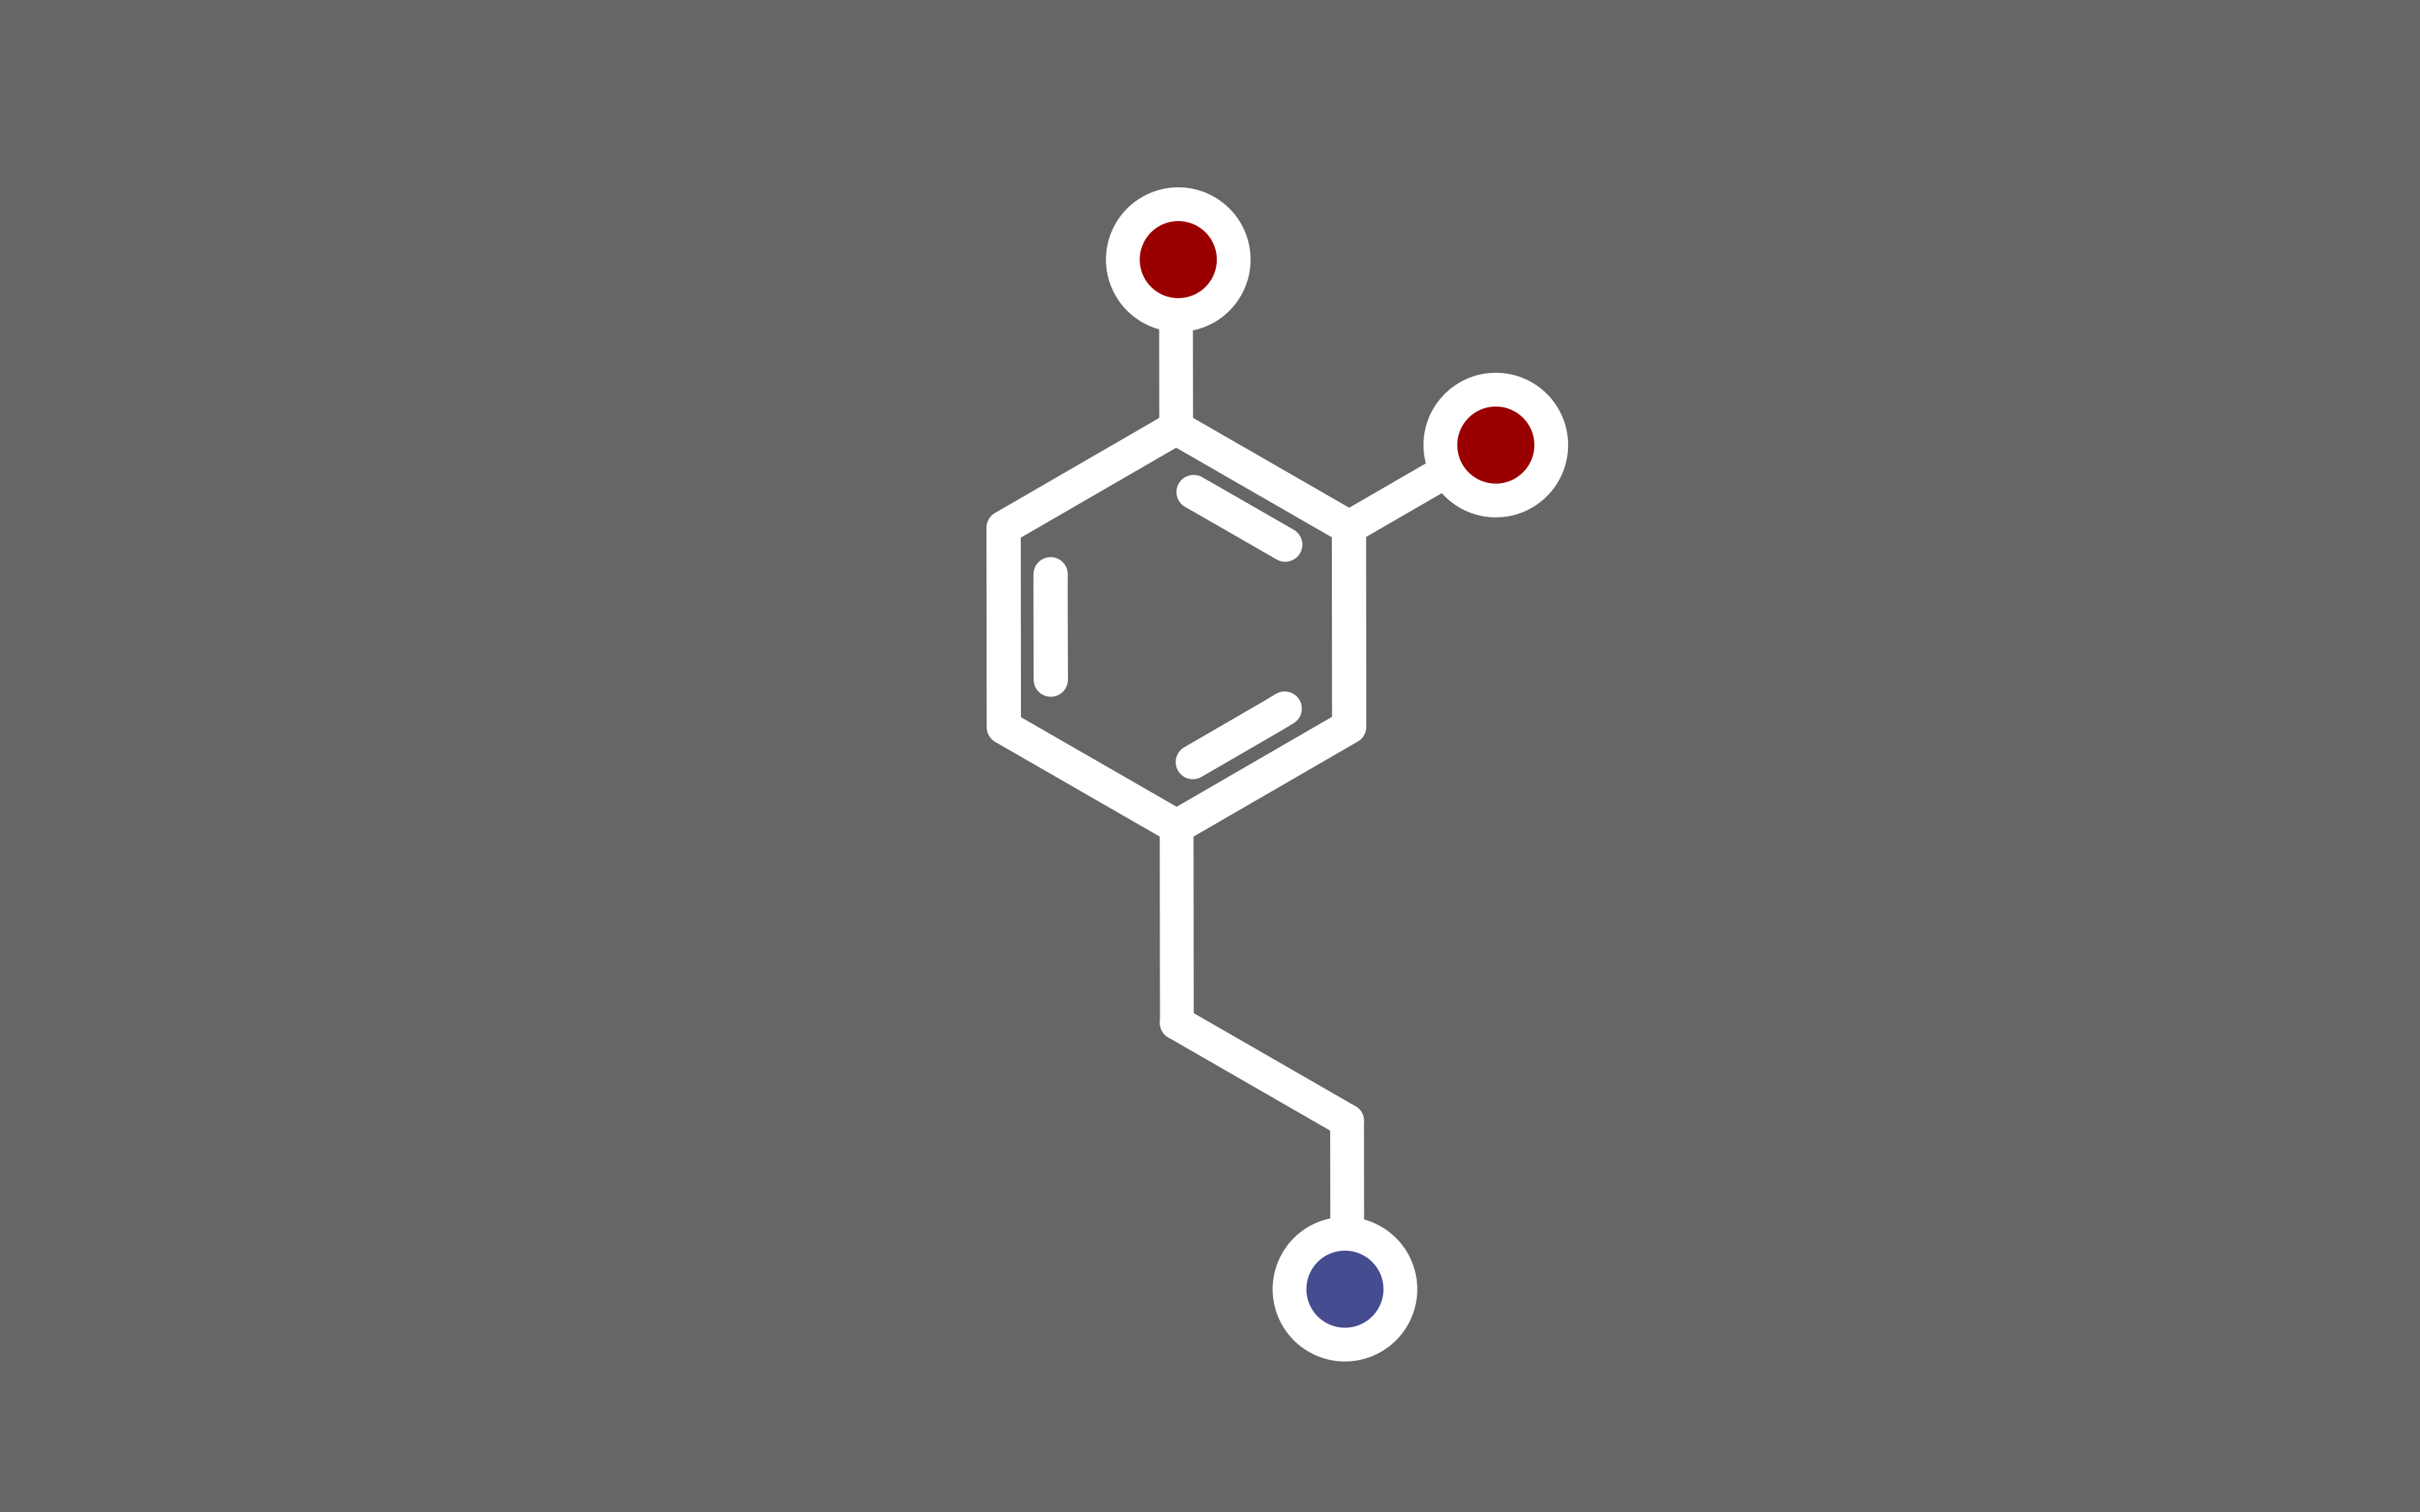
YOLOv3模型
- 主干网络:Darknet53
- 颈部:FPN
- 检测头
技巧
搜索模型:
1 | mim search mmdet --model "mask r-cnn" |
推理
1 | from mmdet.apis import init_detector, inference_detector, show_result_pyplot |
推理
简单的推理
1 | from mmdet.apis import init_detector, inference_detetor, show_result_pyplot |
配置文件
- 模型结构
- model
- 数据集
- data
- 训练策略
- optimizer
- lr_config
- 运行时:GPU、分布式环境配置等
- 辅助功能:日志等
使用继承来修改配置文件:
1 | _base_ = ['config.py'] |
对应的,有
1 | from mmcv import Config |
用于测试(--show-dir用于绘制全部结果)
1 | mim test mmdet config.py --checkpoint checkpoint.pth --show-dir dir |
一些注意事项
repeat用于重复数据集,对应的epoch可以降低lr_config在从头训练的时候比较重要,在微调中也许可以省去- SGD算法配合不同学习率策略表
| 学习率策略 | 第一次降低 | 第二次降低 | 总轮数 |
|---|---|---|---|
| 1x | 8轮 | 11轮 | 12轮 |
| 2x | 16轮 | 22轮 | 24轮 |
| 20e | 16轮 | 19轮 | 20轮 |
笔记
- 注意
data中如果不是默认的80 classes,需要设置classes=('balloon',)
有关python -m pip install和pip install的区别,可以看这里。
由于h264是GPL协议,与opencv-python的MIT协议不匹配,所以需要参考这个从源码编译。也可以像这样直接通过pip进行编译
1 | python -m pip install --no-binary opencv-python opencv-python -U |
但是这步之后发现opencv不再能读取视频,可用下面的代码查看
1 | print(cv2.getBuildInformation()) |
注意到Video下的全是NO。
/etc/apt/sources.list.d文件夹下也有apt的source